 Client Services: (+971) 50- 379 1015


Replacing old tiles can instantly refresh your space, making it look clean, modern, and well-maintained. Whether you’re updating a bathroom, kitchen, or flooring, the process becomes easy when broken into simple steps. Here’s a straightforward guide to help you understand how tiling replacement works:
1. Inspect the Existing Tiles
Before starting, check the current condition of the tiles and identify any damage, hollow spots, or loose areas. This helps determine how much removal is needed.
2. Remove the Old Tiles
Using the right tools, the old tiles are carefully removed without damaging the underlying surface. Any leftover adhesive or grout is also cleaned off for a smooth base.
3. Prepare the Surface
A clean, level, and dry surface is essential. The area is repaired, levelled, and primed to ensure the new tiles bond properly and last longer.
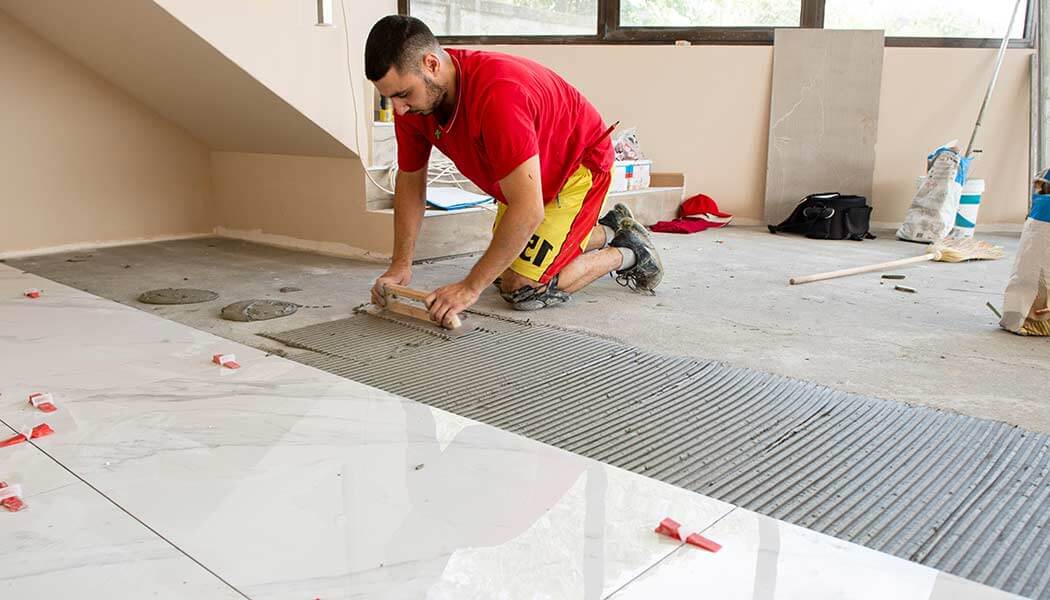
4. Install the New Tiles
High-quality adhesive is applied, and tiles are placed with proper spacing and alignment. Precision during installation ensures the final look is neat and professional.
5. Apply Grout & Finishing Touches
Once the tiles set, grout is applied to fill the gaps. Edges are sealed, surfaces cleaned, and the area is polished for a fresh, flawless finish.
Final Thoughts
Replacing old tiling doesn’t have to be a complicated process. With the right tools and professional technique, you can achieve a clean, stylish, and durable finish that enhances the entire look of your home.